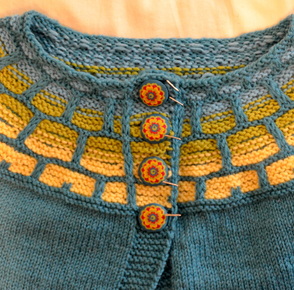
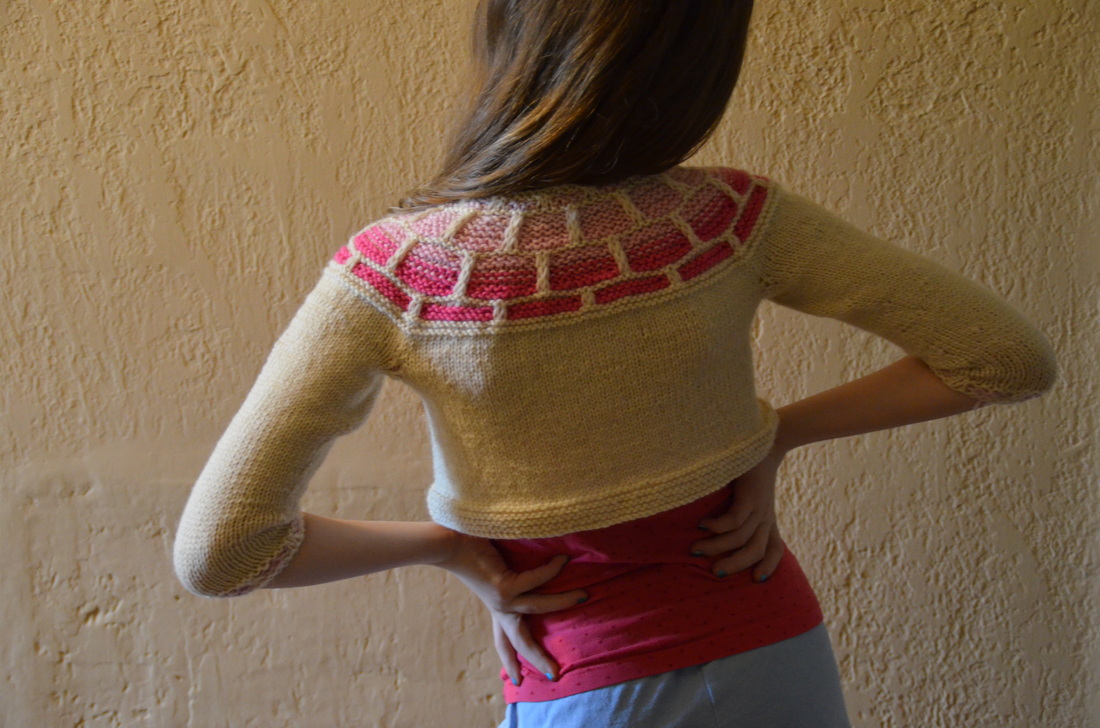
 The Garden Windows Cardigan features a patterned yoke which should look symmetrical when buttoned. When blocking it, it doesn't hurt to button it and put a few rust-proof T-pins in to hold it in just the right position. This isn't absolutely necessary, but it's a nice finishing touch.
0 Comments
 I hate needle-and-thread sewing. So when I knit a project that calls for it, like a cardigan with buttons or a skirt with a zipper, I want to make sure I don't have to do it more than once. The buttons need to stay on; the zipper must stay put. I have some tricks I use to make certain of this. I photographed them while finishing this Garden Windows cardigan. 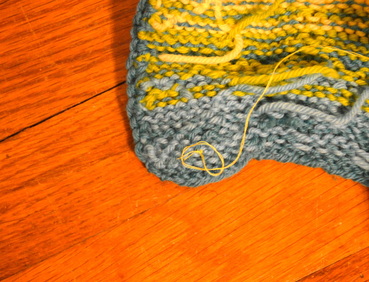 The first step is to make sure the thread stays in the fabric. I have sewn buttons on only to have the original knot I made in the thread pull all the way through at the last minute, leaving the button only precariously attached to the garment. To prevent this, I implement a three step trick. I use the thread doubled and make a large knot at the end. Then I sew through the button once without tugging tightly (the knot does not need to be flush against the fabric). The last step is to take the thread around the original knot, pass the needle through the new loop, and, making sure the knot stays inside the loop, pull firmly, thereby tying another knot around the original knot. 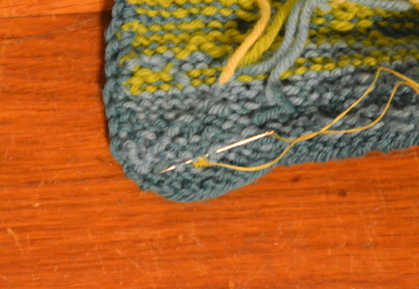 Next, I want to make sure the button is on securely. This involves running the needle through (not under) several knit stitches at each pass. Making sure the needle pierces the yarn helps the button lie flat against the fabric. Taking the thread through several stitches ensures that it will stay put even if one stitch has a weak spot in the yarn. 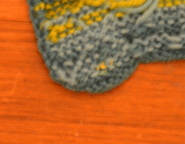 After sewing the button securely (as many times as the shank or holes will comfortably allow) it's time to fasten off. First, tie multiple knots on top of each other by holding each new loop close to the knit fabric before pulling tight. Then pass the needle through several knit stitches in a circle around that knot, and make another multiple knot on top of the first one. Finally, make one more pass through the knit stitches and cut the thread. Your button will be sewn on quite securely even if you skip a couple of these precautions, but I don't think it takes much extra time---and I prefer to take extra care the first time than have a button fall off just when I want to wear a particular item. I used this method to sew the buttons on a coat I've worn every winter for the past fifteen years (even in the last months of a pregnancy) and they're just as firm as the day I knit them! 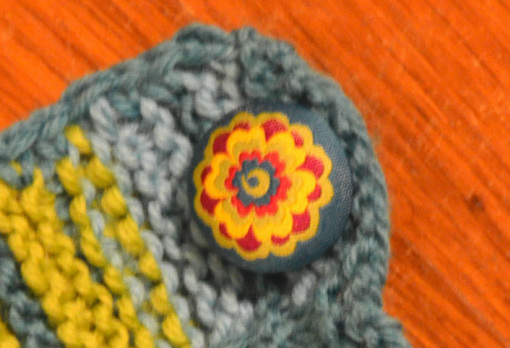 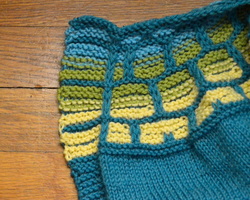 As I was knitting the Garden Windows cardigan I noticed the outer edge was starting to splay. Apparently the color changes I was doing, paired with the slipped stitches several stitches in, caused the selvedge to behave in a way that wasn't apparent on my swatch. I wasn't worried, though---I knew how I was going to solve the problem. 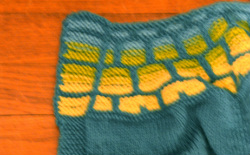 After I finished knitting the cardigan, I took a crochet hook and a little of the main color yarn and crocheted up the side of the striped section only. It was not necessary to crochet up the entire band, since it's mostly normal, well-behaved garter stitch. Doesn't it look better? It was an incredibly easy fix.
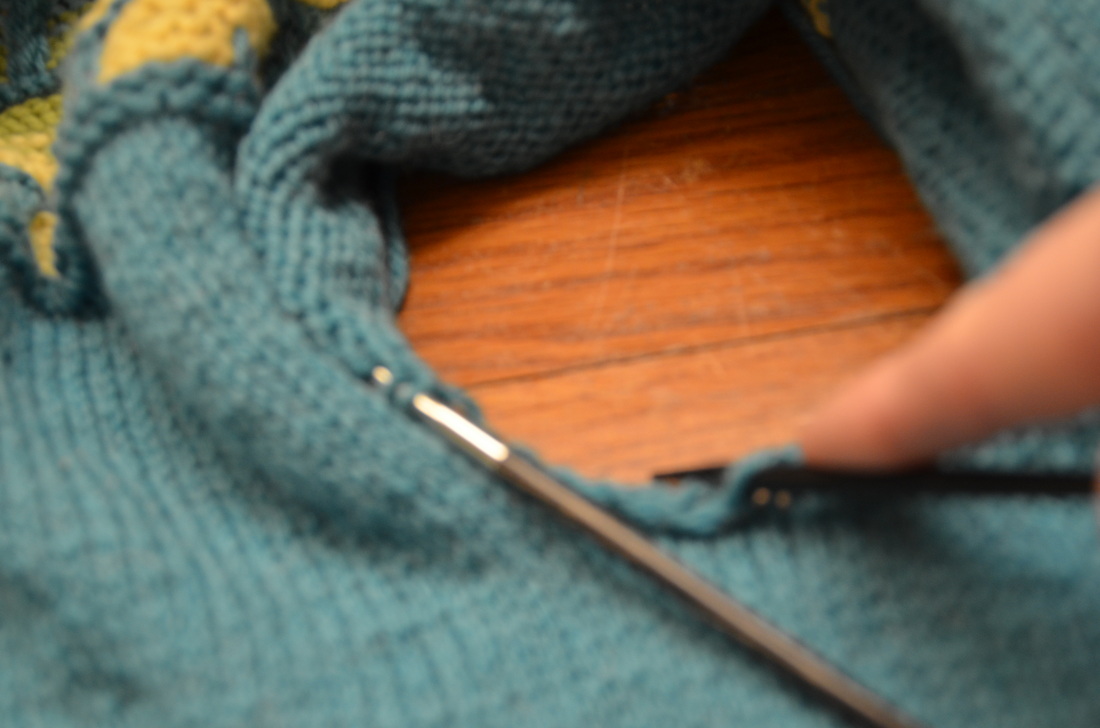
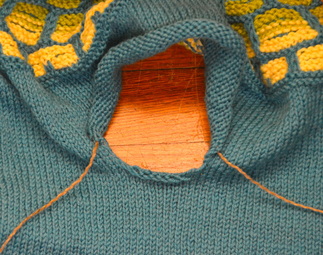 This is the body of my Garden Windows cardigan, all ready for a sleeve. The shoulder stitches are on scrap yarn and I'm ready to pick up stitches at the underarm. I used the "backwards-e" cast on for the underarm stitches. First I put the held stitches on a knitting needle, then I count the underarm stitches and make sure to start picking up at the halfway point. I insert my needle in second row below the underarm edge for a seamless look. This does not create an uncomfortable ridge inside the sweater, as you might imagine.
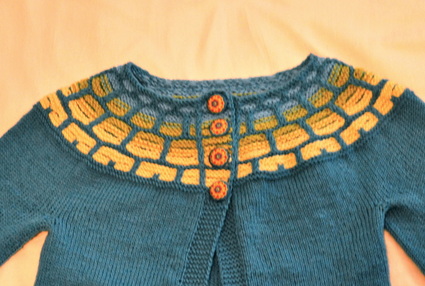
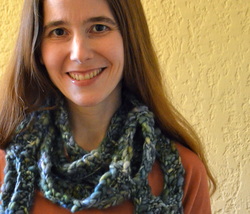
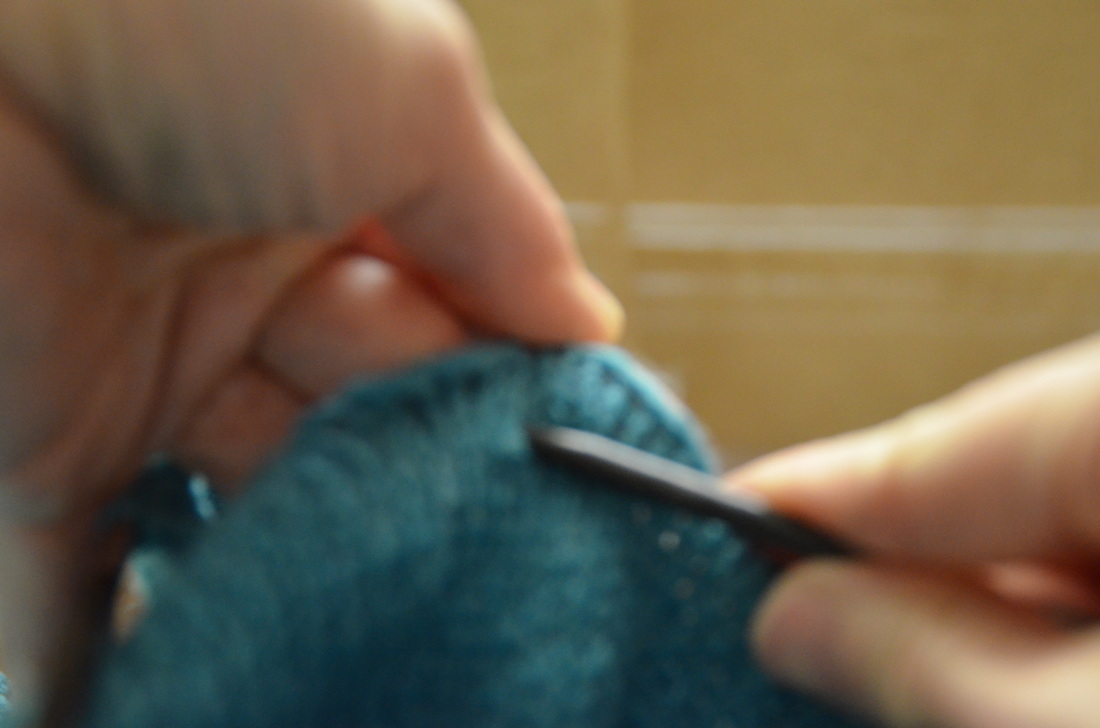
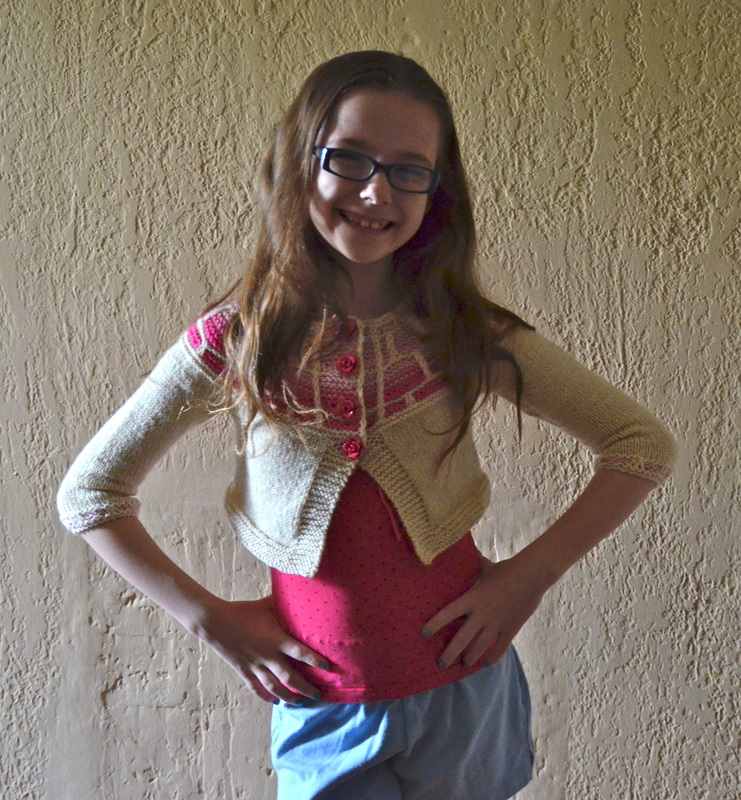
I start two rows below the middle of the underarm cast-on row, pick up the number of stitches called for, knit around the top of the sleeve, then pick up the last half of the underarm stitches. Of course if you have any special tricks like picking up a couple extra stitches and then decreasing them on the next round to avoid gaps where the picked-up stitches meet the live stitches, feel free to implement them here. There are also alternative cast-ons for the underarm stitches. I found the "backwards e" cast-on to leave very little ridge after I picked up the second row below, and picking up that far down seems to eliminate any problem with gaps. Any provisional cast-on would also work for a seamless look. The Chinese waitress cast-on was recently recommended, but I haven't tried it myself. Below is a photo of the child's version of Garden Windows as seen from inside the underarm. The ridge curls up and is not noticeable to the wearer. Unfortunately, I didn't get a good photo of the outside, but it really looks seamless! 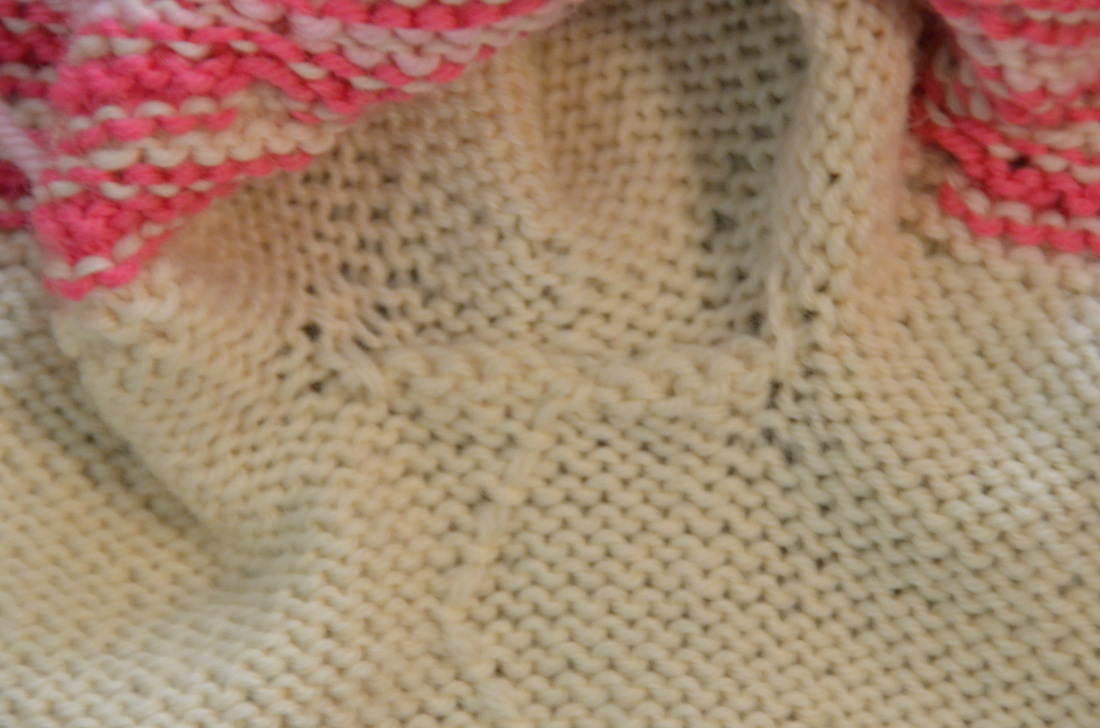 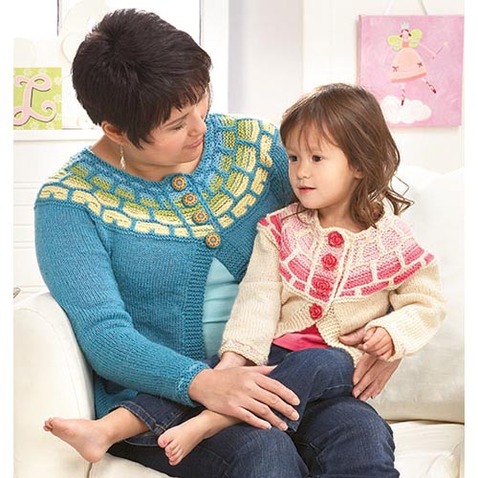 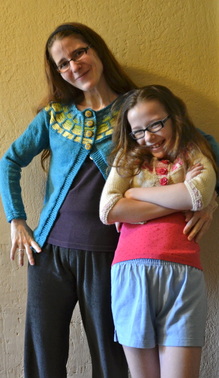 My Garden Windows mother-daughter cardigan set is finally out! I really love this design. Worked in Daily DK from Willow Yarns, it features a circular yoke worked in garter stitch stripes, with window frames formed from slipped stitches. These two sweaters practically flew off my needles---worked in one piece with the yoke pattern repeated at the cuff, it was great meditative knitting with always something to look forward to. My daughter is wearing the size 4. She loves the cropped look and 3/4 sleeves. To replicate the look on a less diminutive body, simply start the cuff and waistband earlier! This pattern is really flexible that way---you could also knit it past the hips for an open tunic.
|
Hi! I'm Kangath---knit designer, musician, writer, and mother 
Click here to join the Kangath Knits email list
for insider updates and special deals. Subscribe to
Kangath Knits: 
Ruth Roland is a top Baton Rouge, LA music lesson instructor on TryMusicLessons.com! Good ReadsAmy Herzog Designs
canaryknits dull roar Knit and Tonic Linda Marveng needled Ramblings The Sexy Knitter Sheep to Shawl Trappings and Trinkets Two Sides of the Same Stitch Yarn Harlot Archives
February 2018
Categories
All
|
 RSS Feed
