|
In this section of the tutorial, we'll label the schematic using lines and circles. Lines first. Draw lines (using the pen tool) for every flat measurement on your schematic. 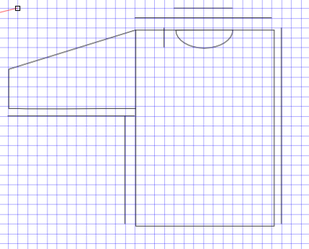
Notice I have measurements for cross-back and collar, and I put the shorter line on top. Next, use the select tool (F1) to select all the measurement lines. Go to Object--Fill and Stroke--Stroke style and choose start and end markers. 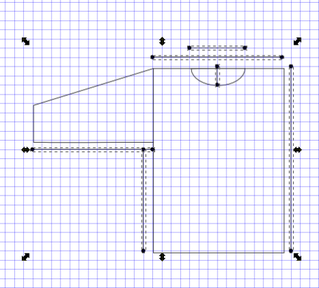
Now for the round measurements. We'll use the circle tool for these. 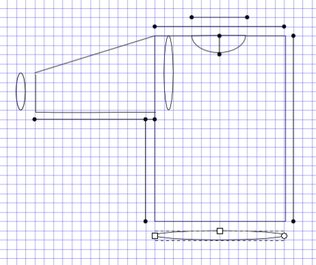
You can leave them like this, or you can make them into arcs. Move the round nodes, then click "Switch to arc" at the top of your window. 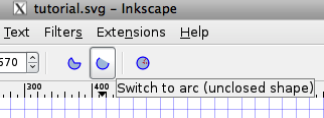
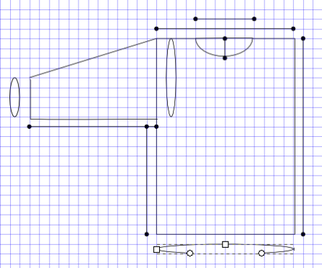
Again, select them all, then add start and end markers. 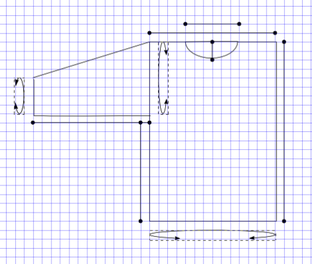
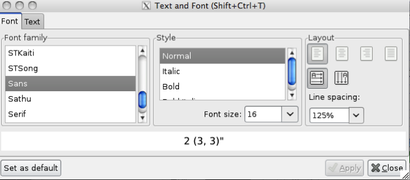
Now add numbers with the Text tool. 
Once you have entered some text, you can fine-tune it using the Text and Font dialog. 
And there you have it. 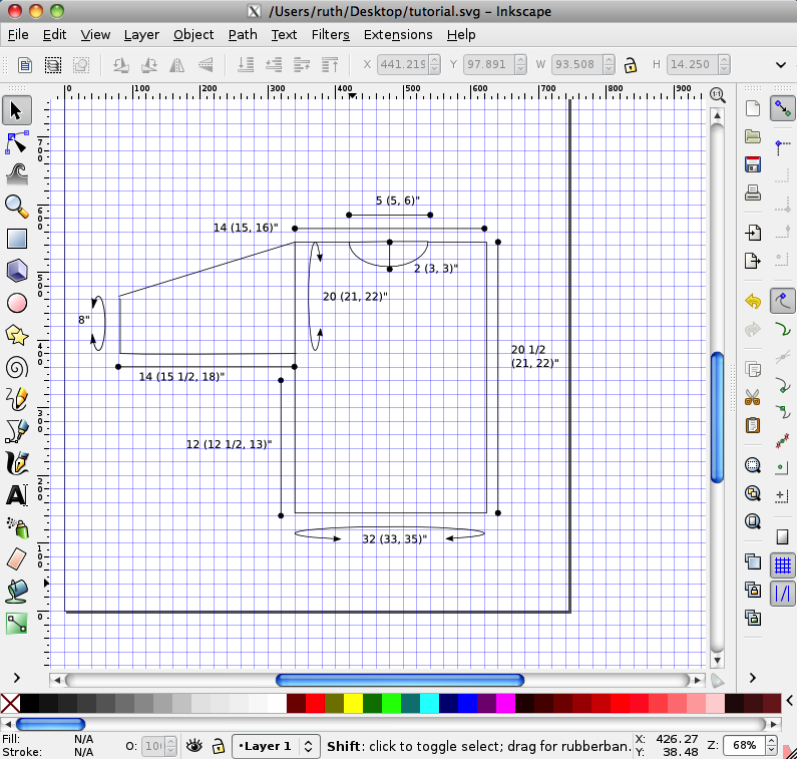
Next up: combining shapes (my favorite!)
0 Comments
This section of the tutorial will cover using shapes and lines to draw an entire garment. Let's give your rectangle a neckline. Select the circle tool from the sidebar between the cube and the star. 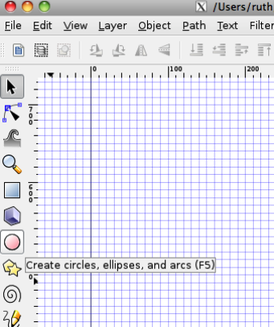 Now click and drag to draw an ellipse. 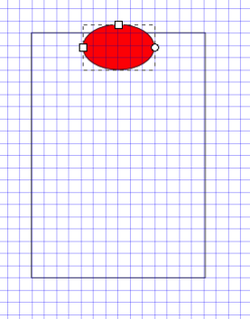 If you want to move it, click on the arrow at the top of your sidebar ("Select and transform objects") or press F1. 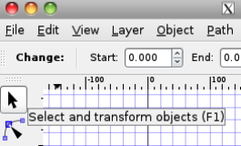 Then click on the ellipse. 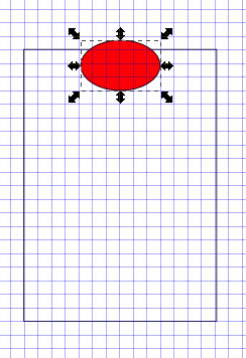 The cursor turns into a hand, and you can move the ellipse anywhere you want. Let's center it around the top of the rectangle. 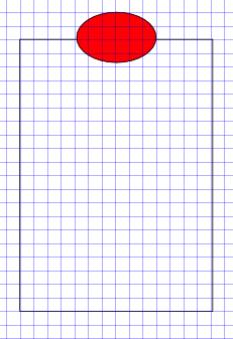 You can also use the arrows that appear when you select an object to resize it. If you click on the center of a selected object, you can rotate it. But let's try something else with this ellipse. Click on the circle tool again. Notice the square and circular nodes. Move a circular node until you have an arc below the top of the rectangle. While you're here, click on the Fill and Stroke icon in the upper right corner. Click on the rectangle, select "This tool's own style" then click "Take from selection" for new drawings. Change the Fill color for this arc in the Object menu. Your drawing should now look like this: 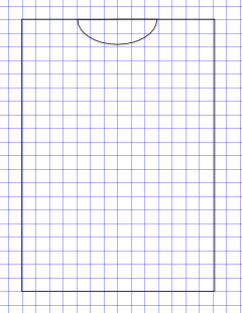 By the way, if you ever scroll away from your drawing and can't get back, just hit 5 and it will reappear. We'll finish this drawing with lines. Find the pen on your sidebar. 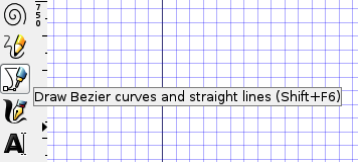 Now click on the body of your sweater where you want the sleeve to start. I'm clicking at the bottom of the sleeve because my garment has the decreases along the top of the sleeve, so that will be a diagonal line. Drag until your line is the length of your sleeve, then double-click to end the line. 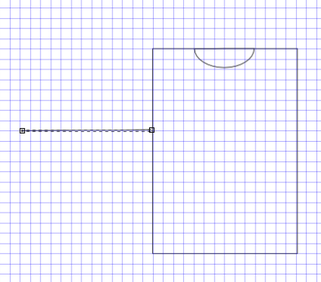 Draw two more lines to finish the sleeve. We only need one sleeve on a schematic. 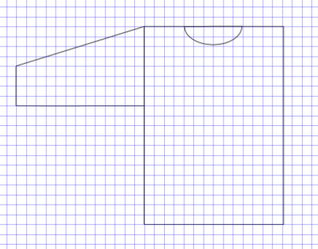 Next up: labeling the sizes
In this section of the tutorial, we'll take a quick look at the Help menu and then go on to start our drawing. To begin drawing the schematic we will
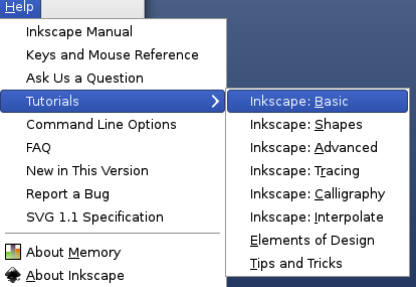 First, a look at the Help menu. This menu (at the top of your Inkscape window) lists a manual and several helpful tutorials. If any of my tutorial is unclear or doesn't cover a particular element you'd like to use, you may either leave a comment below or use the Help menu. Before we set the fill color, we need an object to fill. On your sidebar, click on the square between the magnifying glass and the cube. 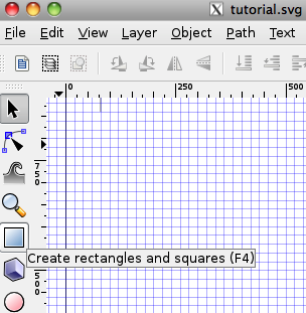 Place the cursor where you want to start your rectangle. An X should appear on your screen. Drag diagonally, then release. Don't be concerned if nothing appears while you drag. You should have a blue rectangle on your drawing space when you release. 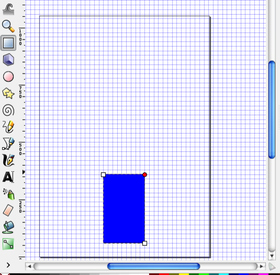 Size the rectangle by dragging the square corners. (The circular corners round the shape--try it!) If your grid is small enough, you can do one square per unit of measure---or two squares if you have a lot of half units. Choose the set of measurements for a single size (usually the sample size of Women's Small) and stick to it for the entire schematic. As long as it fits on the page, don't worry about it being too big. Your editor can always shrink it, but expanding may cause problems with image sharpness. Next, we set the fill color and stroke preferences. Under Object (at the top of your Inkscape window), select Fill and Stroke. 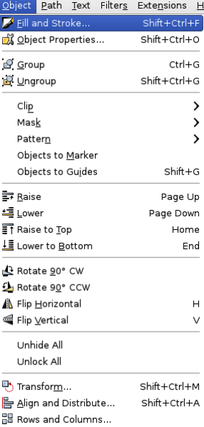 There are several ways to choose your color. The simplest way for me is just to fill in a code under the colored stripes where it says "ffffff00." White is ffffffff, which is all I ever need. 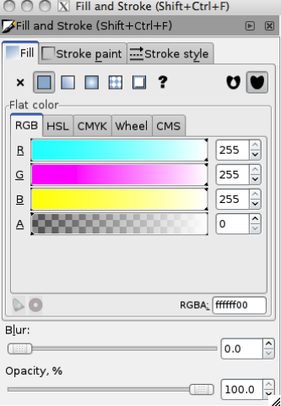 You can also select Wheel instead of RGB, and just click on the desired color. 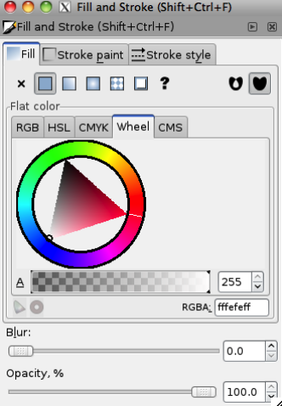 Stroke setting is next. If your white rectangle has a solid line around it, there is no need to do anything. But if it has a dotted line, change it to a solid line under the Stroke style tab of the Fill and Stroke dialog. 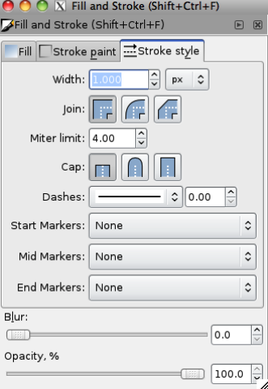 While we're here, let's fix these settings for your Inkscape use. You can always change them later. Up at the top of your window, there should be Fill and Stroke preference images (if you don't see them, make sure you still have the rectangle function selected). Click there.  That should open a box like the one below. Select "This tool's own style" and then click "Take from selection." 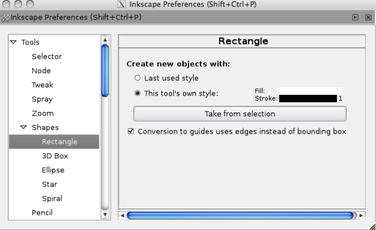 Now every rectangle you draw will start as white with a black outline. You can always choose another fill color if you want to do something fancier than a schematic, but it will be white when you first draw it.  Remember to save your work using the File menu or simply ctrl+S .
Next up: outlining an entire garment (I can hardly wait!) Here's Part One of a tutorial to walk you through drawing a basic schematic in Inkscape. This section of the tutorial will cover
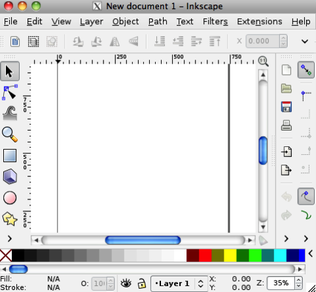 When you first open Inkscape, the window looks like the one above. Before you get started drawing, you'll want to set your page dimensions and set up a grid. First go to the File menu and open the Document Properties dialog (notice keystroke options are shown to the right). 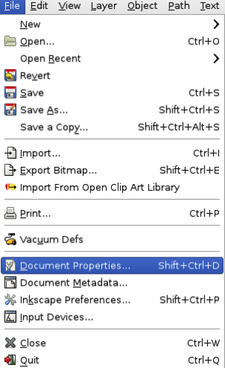 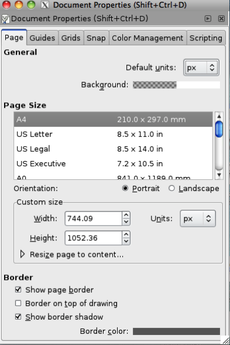 Choose the size paper you plan to use (under Page Size), and whether you want Portrait or Landscape orientation. Fit the page to the drawing area by pressing the 5 key. Your page should now look something like this: 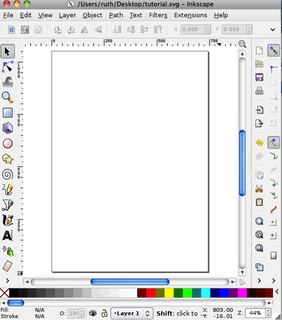 Now go to the Grid tab of the Document Properties dialog. 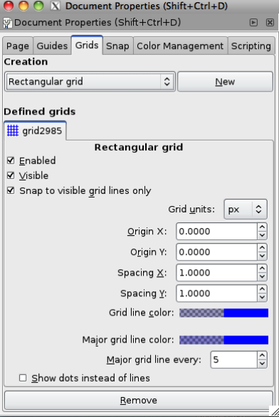 Set it up as I have here for now, but feel free to play around with the units and spacing once you're comfortable. One more thing while we're here: 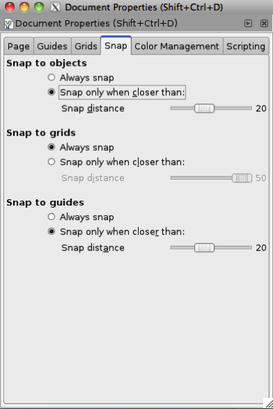 The Snap tab allows you to tell the program how much control you want to have. I want to keep my schematic right on the grid. Now your window should look something like this: 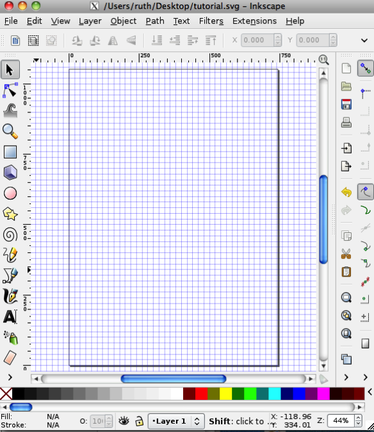 Save your work now, even though you haven't done any drawing yet. Go to File, then select Save As. 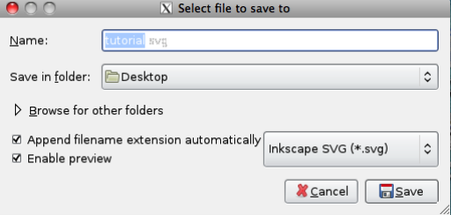 Choose a name and a location, then click Save.
Next we'll put the basic shapes together to outline a garment. 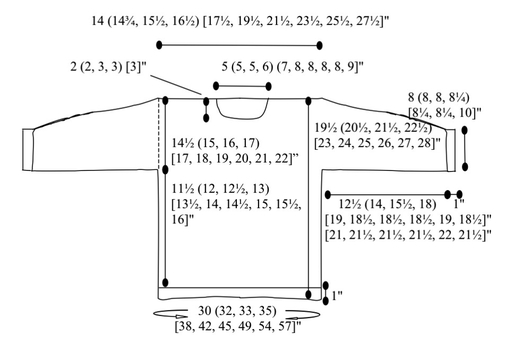 a messy schematic in Word---not Marnie's fault Often when I design a knitting pattern for publication, or even sometimes when I submit a design for consideration, I need to provide a schematic, or outline of the garment, roughly to scale, labeled with the dimensions for every size. Until recently I used Microsoft Word to draw my schematics. Less than desirable, but I thought I had to invest in a program like Adobe Illustrator to do better.
Mindy from Clotheshorse told me one important difference between Illustrator and Word is that Illustrator is vector-based. So I did some research and found several vector graphics programs that interested me, and one, Inkscape, that's available for free. But whereas Marnie MacLean has a wonderful tutorial for creating schematics in Word, I couldn't find one peep about creating them in Inkscape. Which meant me and my scarred brain had to figure it out by ourselves. One thing I don't do well any more is read instructions. I used to be great at it, manic about it, in fact. I used to read a lot, and quickly (insert teary-eyed maiden's quietly pathetic sniff). Now my eyes glaze over, and---I kid you not---the words float off the page or screen or whatever and work themselves into a tangle I have no idea how to unravel. So I found a tutorial on how to draw the Swedish Flag, and got my start in the world of Inkscape. |
Hi! I'm Kangath---knit designer, musician, writer, and mother 
Click here to join the Kangath Knits email list
for insider updates and special deals. Subscribe to
Kangath Knits: 
Ruth Roland is a top Baton Rouge, LA music lesson instructor on TryMusicLessons.com! Good ReadsAmy Herzog Designs
canaryknits dull roar Knit and Tonic Linda Marveng needled Ramblings The Sexy Knitter Sheep to Shawl Trappings and Trinkets Two Sides of the Same Stitch Yarn Harlot Archives
February 2018
Categories
All
|
 RSS Feed
